 US Dollars
Every part is new — and it still darts.
A chassis-first DIY alignment guide for the 1949–1977 Standard Beetle. Built for the owner who's done the work, bought the parts, and still can't figure out why the car wanders. Aimed at a real, repeatable 8-out-of-10 — with a tape measure, a string, and a level afternoon.
New parts only define the starting hardware. They don't build the geometry.
Customers walk in every week with the same story. Every part is new — beam bushings, ball joints, tie rod ends, shocks, spring plates, the whole front end — and the car still darts. Sometimes left, sometimes right. It pulls under acceleration, it wanders on the highway, it tracks differently every drive.
The unspoken belief behind that sentence is that new parts equal correct geometry. They don't. New parts only define the starting hardware. The geometry — how those parts sit in space relative to each other and to the chassis — has to be built, measured, and dialed in. Every new bushing has its own thickness tolerance. Every new torsion leaf has its own free angle. Every new spring plate has its own preload. The assembly is what you align, not the parts list.
We're not chasing a 10/10. We're chasing 8/10 — repeatable, with a tape measure and a string.
This guide gives you the framework and the confidence to do the foundation work — the part that takes a Beetle from "every part is new and it still darts" to a car that drives straight on its own.
There are four real alignment numbers. Anything else a shop "adjusts" isn't on the call-out sheet.
Toe (front), camber (front), caster (front), and rear toe & camber. That's the full menu. Every other thing a shop touches during an "alignment" — tightening the steering box being the worst offender — isn't an alignment adjustment.
The Four Alignment Call-Outs — Visualized
Five steps. In order. Skipping any of them is why your Beetle still darts.
Steps 1–3 are 80% of what makes a Beetle drive straight. Most owners and most shops skip them entirely, jump to step 5, and wonder why nothing improves. This guide fixes that.
Step 01
Air PressureEqual at all four corners. Factory cold spec.
Step 02
Ride HeightMatch left-to-right pairs. Rake is fine.
Step 03
WheelbaseEqual side-to-side. Square the chassis.
Step 04
Loaded Re-CheckDriver weight in the seat. Re-measure.
Step 05
Micro AdjustRear toe first. Front toe last.
Seven measured steps. One repeatable result.
Lay the foundation first. Toe / camber / caster numbers come last, after the chassis is square. Anyone selling you an alignment without doing the foundation work is selling you a number, not a car that drives straight.
Air Pressure, Equal & Cold
Two PSI of side-to-side difference will move ride-height numbers and corrupt every measurement that follows. Set the gauge once, set the pressures once, leave them. If you don't have an exact factory number for your year, get within 1 PSI front and rear, matched left-to-right.
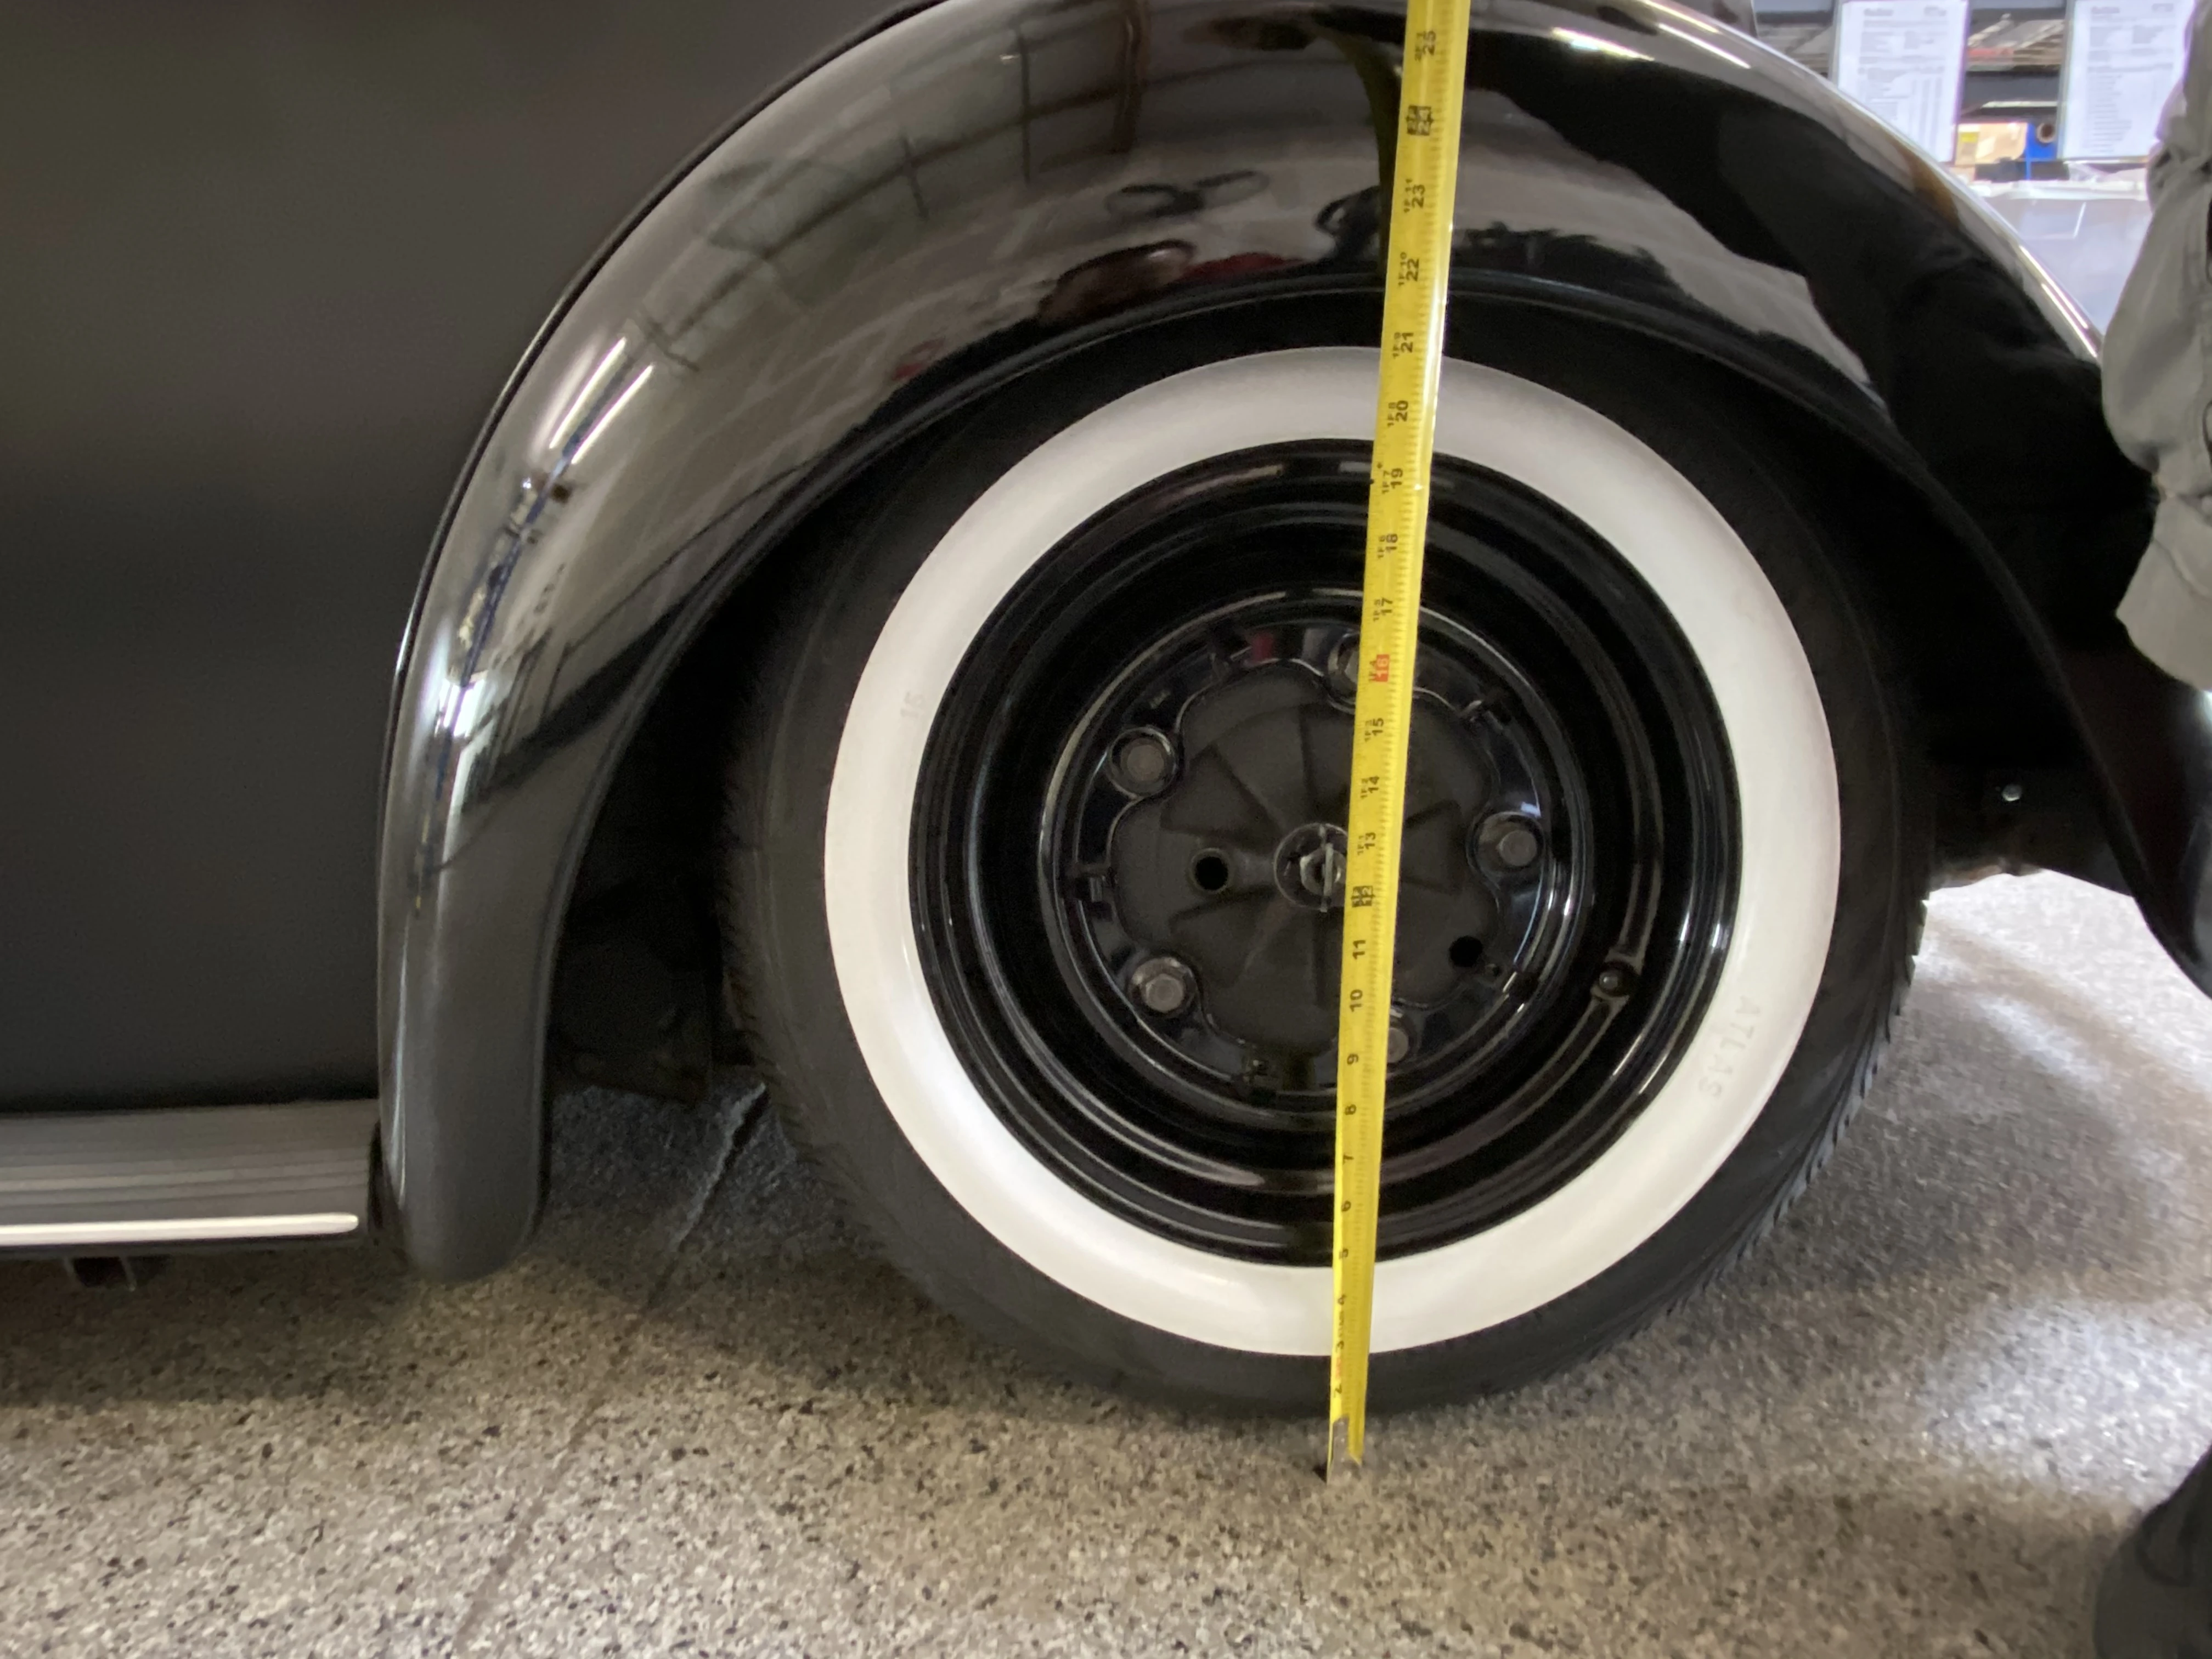
Ride Height — Five Reference Points
Park on the flattest surface you have. Pick a fixed reference at all four chassis corners — pinch-weld, frame head, torsion housing, somewhere repeatable. Add a fifth at the center of the front beam. Write the five numbers down.
Move the car a foot, roll it back, settle the suspension, and re-measure. The numbers should repeat within 1/8". If they don't, the suspension is binding somewhere — find that before going further.
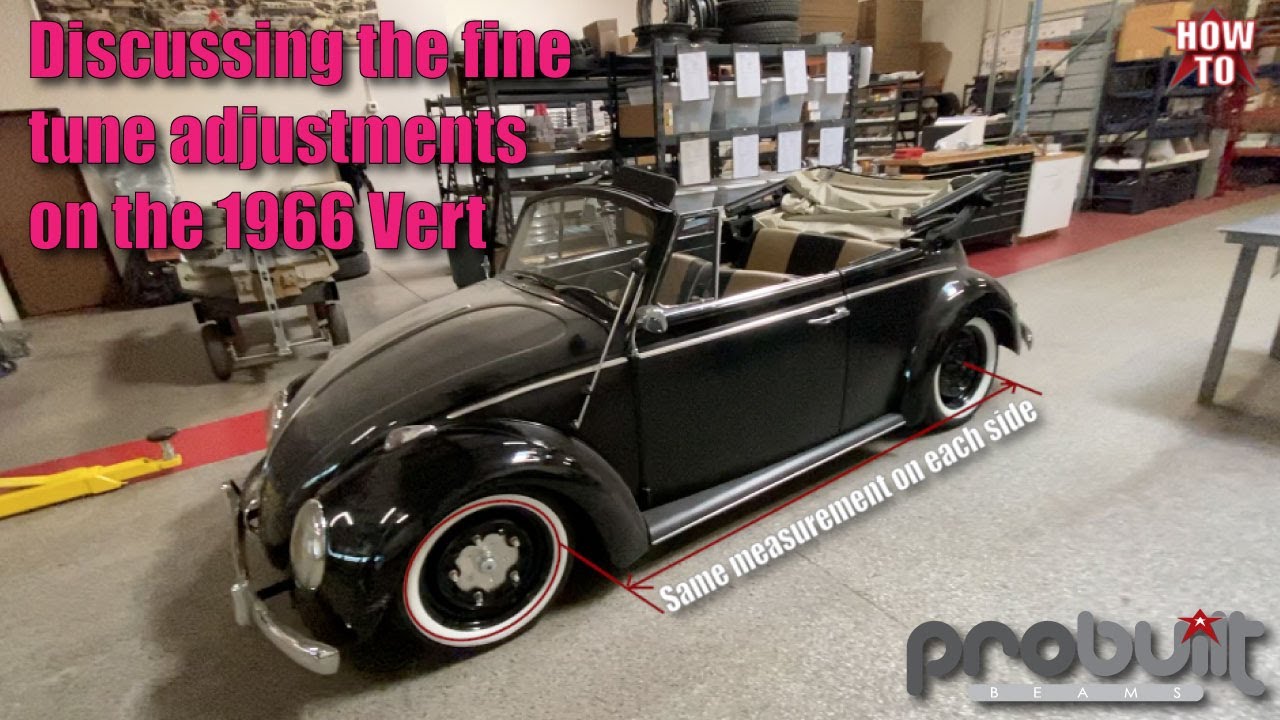
Side-to-Side Equality
Compare left-front to right-front. They should match. Compare left-rear to right-rear. They should match. Front and rear do not need to match each other. Rake is fine. A 1/4" mismatch side-to-side is not.
If a front side and a rear side are both off in the same direction, the rear is the cause. The chassis is rigid — if the rear sits low on one side, the entire car rotates around its longitudinal axis. Fix the rear first, always.
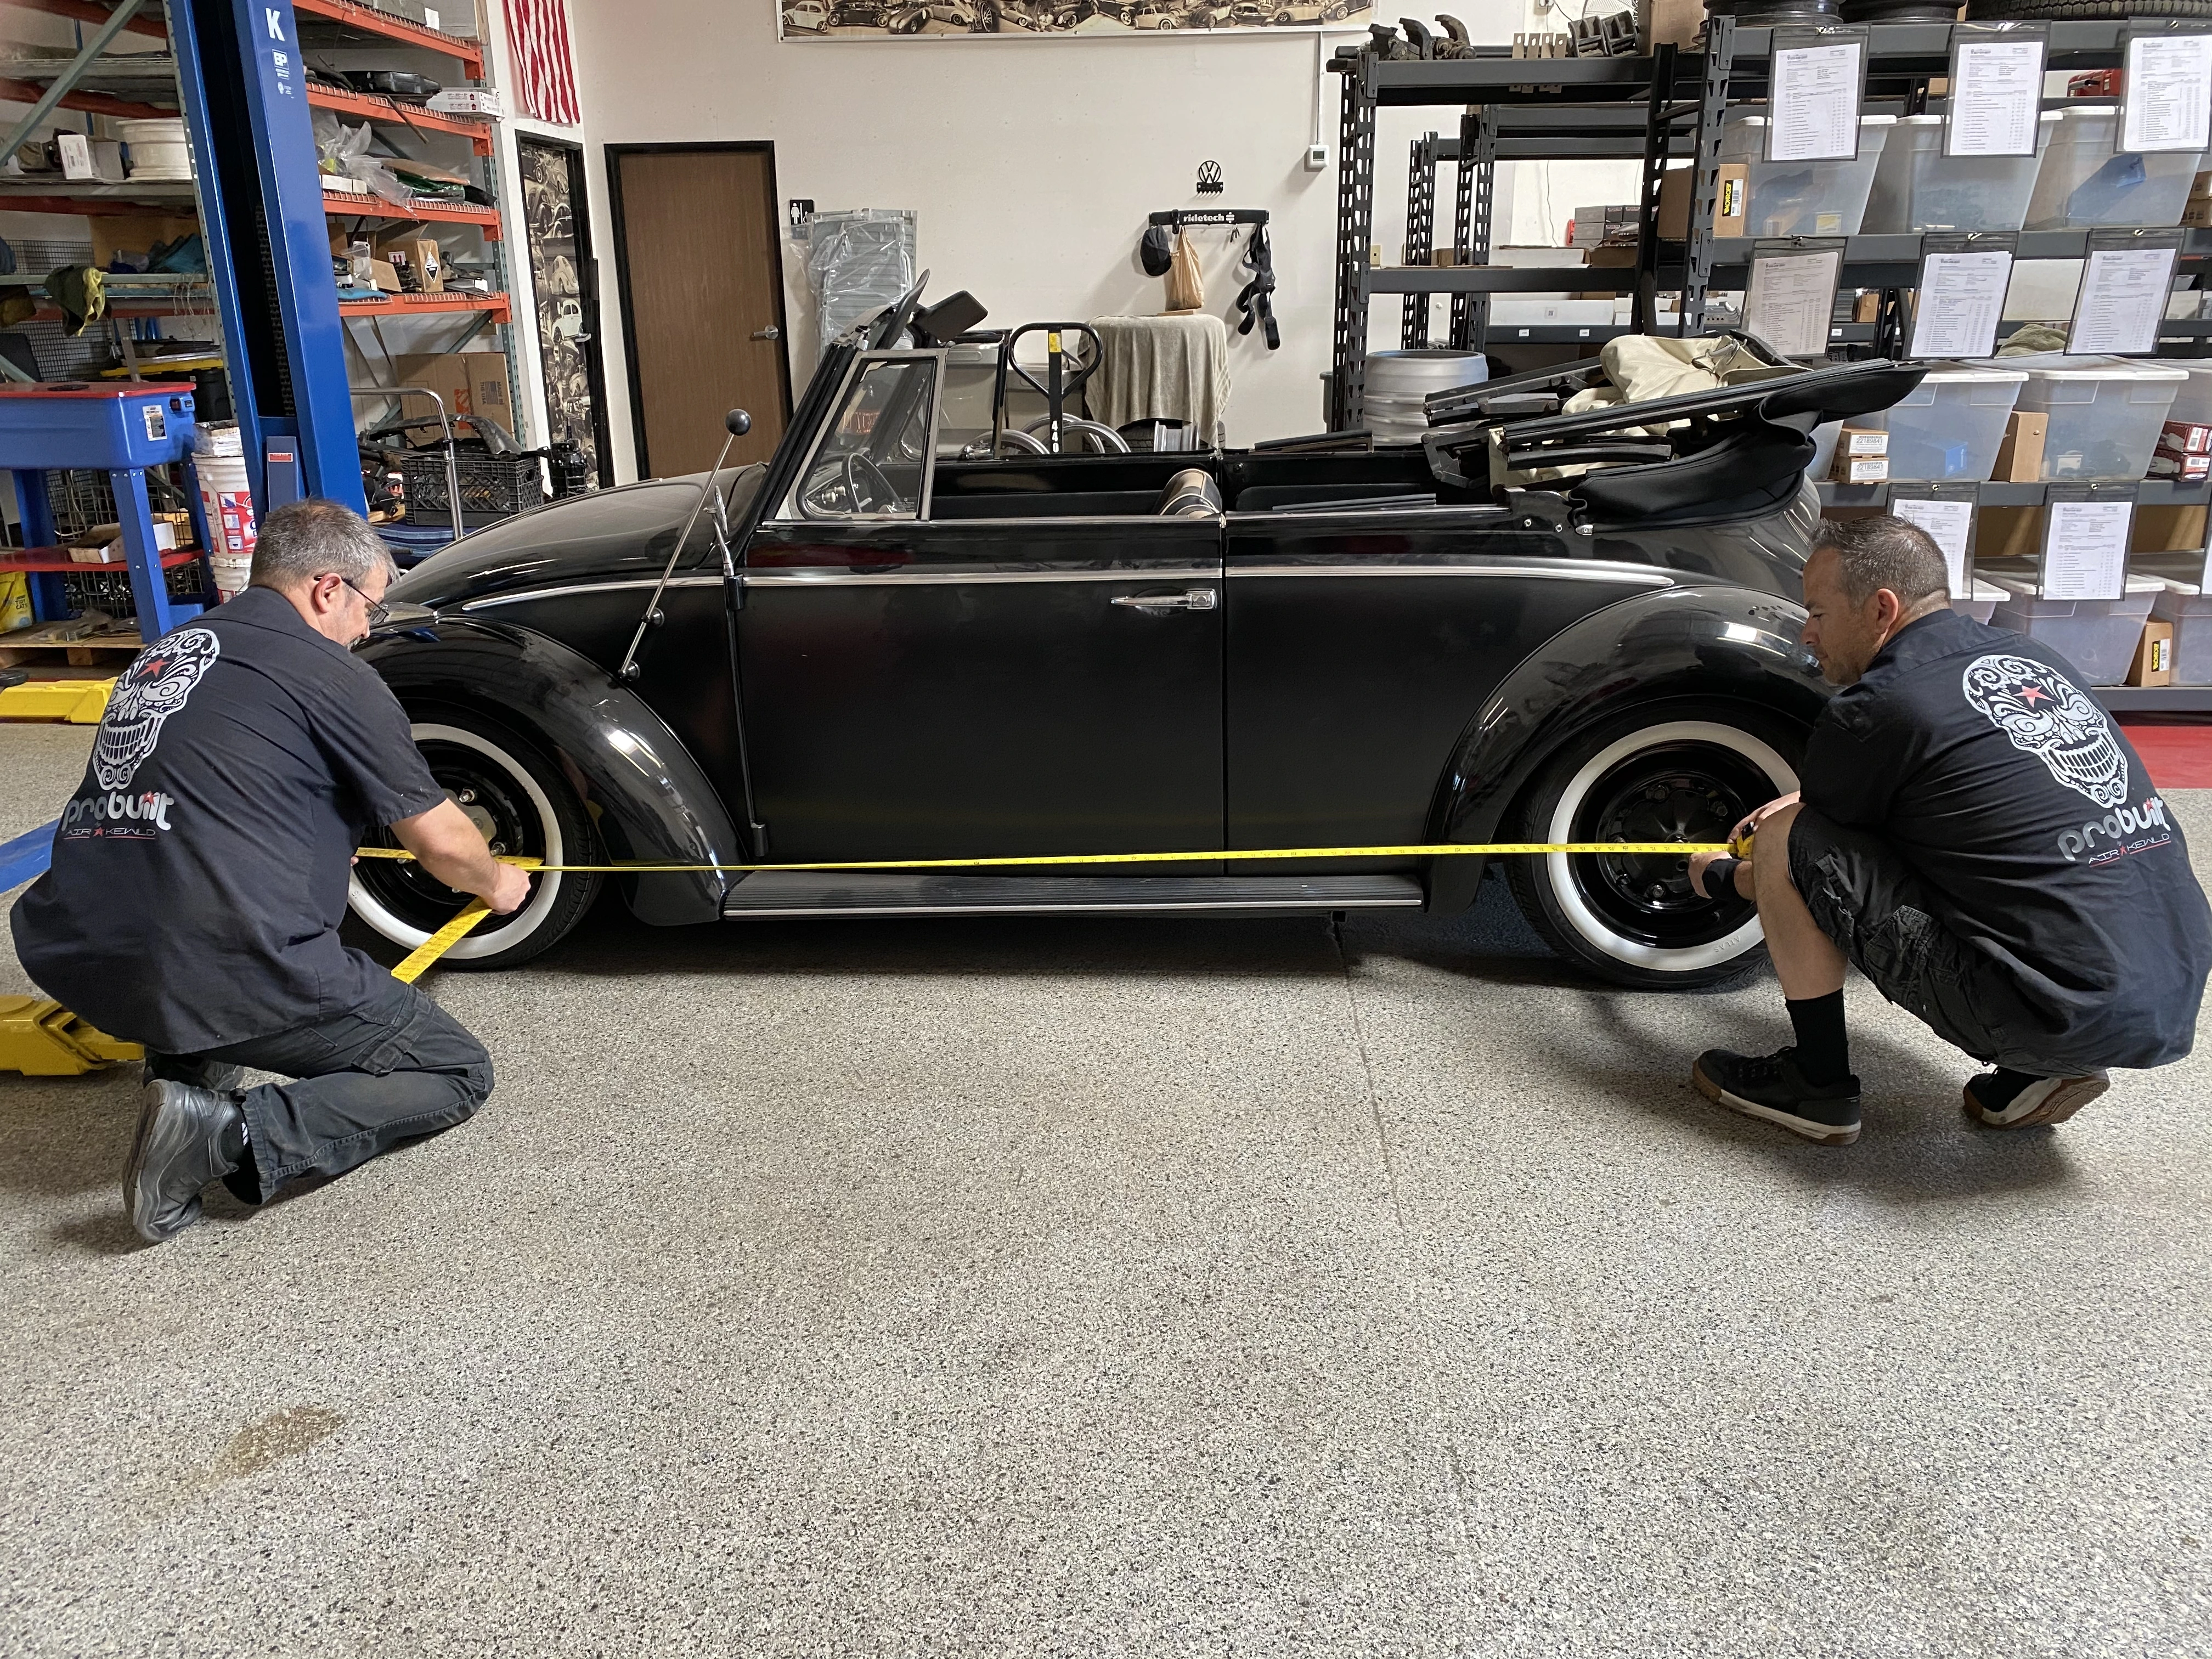
Wheelbase Per Side
Measure from the back edge of the front tire to the front edge of the rear tire on the left side. Repeat on the right. The two numbers should match within 1/8".
If they don't, the chassis isn't square — spring plates clocked unevenly, a shifted front beam, a collapsed diagonal arm bushing, a tweaked frame head, rust repair pulled out of square. No amount of toe / camber / caster fixes a chassis that isn't square. See Schematic 02 below.
Loaded Re-Check (Driver Weight)
Almost nobody does this step. It's the difference between a basic 8/10 and the upper end of 8/10. Factory specs are unladen because that's repeatable on an assembly line, not because it's mechanically optimal. Your car operates loaded — with a driver in it.
Add weight to the driver's seat equal to your body weight. Sandbag, dumbbells, anything with known mass. Re-measure all five points from Step 02. The loaded numbers are your new working baseline.
Rear Toe — Straight Edge
For an IRS Beetle (1969+), rear toe is a real adjustment at the spring-plate bolts. Lay a straight edge along the rear tire. Measure or sight parallelism to a chassis reference. Don't use the rocker panel — rockers can be tweaked. A pulled string from the front wheel to the rear, or a tape to a known-symmetric point on the torsion housing, is more reliable.
For swing-axle (through 1968), rear toe and camber are tied together by the torsion bar and spring plate. The slots are far less forgiving. Document what you have, fix anything clearly mis-clocked, and accept that swing-axle rear geometry is what it is.
Front Toe — Last
Toe plates with a tape, or a string-line box. Either gets you 8/10. Center the steering wheel, mark it, and adjust both tie rods by equal amounts in the same direction so the wheel stays centered. The left tie rod has left-hand threads on the inner sleeve.
Target: roughly 1/8" total toe-in on radial tires. The factory crossply spec of 1/4" was for a different tire technology and shouldn't be used on modern radials.
Slot Limit? Stop. Don't Force It.
If you reach the end of a spring-plate slot and the number still isn't where you want it, the answer is not to force it. The slot is telling you the underlying geometry — ride height, plate selection, bushing thickness — is at the edge of what those parts were designed to do. Address the geometry, not the slot.
The Chassis-Square Measurement — What to Tape
What's actually adjustable on YOUR Beetle?
Three eras. Three different menus of what's adjustable versus what's diagnostic only. Find the era that matches the front beam under your car — and skip ahead if you want, but the value is reading all three: each generation gives you more to work with than the one before.
Link Pin / King Pin
1949–1965 · only front toe is a routine adjustment
On a link-pin Beetle, the only routine adjustment is front toe. Camber is set by king-pin bushing shims at rebuild. Caster is built into the beam. Out-of-spec camber or caster is a worn-or-bent-parts diagnosis, not a turn of a wrench. Spend your time on Steps 1–5 — chassis squareness — and accept what the front beam gives you.
Ball Joint · Swing Axle
1966–1968 · full front menu, rear is what it is
Ball joint front, swing axle rear. Three real adjustments up front — toe at the tie rods, camber via the eccentric upper ball joint, caster via shims at the framehead. The eccentric is the one most shops don't know is there. Swing axle rear geometry is what it is — focus your work on the chassis-square checks and the front.
Ball Joint · IRS
1969–1977 · full menu, all five adjustable
Ball joint front, IRS rear — the full menu. Set rear camber and toe first at the spring-plate bolts (they move together), then front caster shims, then front camber via the eccentric, then front toe last. Verify the chassis is square (Steps 1–4) before you touch any of this.
Spec ranges shown are working targets aggregated from Bentley & period factory references. Confirm against your printed Bentley manual before final dial-in. Link-pin numbers in particular vary by year and source.
The pre-drop spring plate problem nobody warns you about.
Aftermarket "pre-drop" spring plates come in competing designs. The trap is in one specific class: plates that physically lengthen the spring plate — moving the diagonal-arm pivot rearward to give more clocking range. Marketed with pre-drop values of 1" to 4".
These plates are geometrically optimized for a final ride height several inches below stock. The longer plate sweeps a different arc as the diagonal arm rotates, and at near-stock ride height that arc puts the rear wheels into a toe-out condition that cannot be dialed back at the spring-plate slots. The car widens its rear track slightly, the toe-out is locked in by geometry rather than by adjustment, and you chase an alignment that isn't physically achievable with the plates installed at that ride height.
Why Length-Style Pre-Drops Belong on Slammed Cars
Length-style pre-drop spring plates belong on a car that's actually slammed — call it 6"+ of total drop from stock — where the longer plate's geometry brings the wheel back into a dialable range. On a near-stock-height Beetle, stock-length spring plates are the right answer.
A note for the comments: other aftermarket designs only re-clock the spline end without changing physical length. Those plates have their own issues, but they are not what this section is about. If you don't know which class is on your car, get under it with a tape measure and compare to a stock plate before you assume the manufacturer's marketing has solved every geometry problem.
The Steering Box is NOT on the alignment call-out sheet.
The VW worm-and-roller steering box has two real adjustments: a roller adjustment on top of the box and a worm/end-float adjustment on the front face. Both control free-play in the box itself.
Free-play in the box is a steering complaint, not an alignment complaint. Adjusting the box does not change toe, camber, or caster. A box tightened during an "alignment" leaves whatever the alignment fault actually was untouched, and over-tightening a worn box accelerates its wear at a fantastic rate.
The correct workflow: rule out worn tie-rod ends, tie-rod sleeves, ball joints or king pins, beam bushings, and torsion arm bushings first. Only then evaluate the steering box, and only by free-play measurement at the wheel rim — not as a line item on an alignment work order.
If a shop's invoice for an "alignment" includes a steering box adjustment, that shop did not perform an alignment.
The Whole Workflow — In Real Time, In The Shop.
Watch the chassis-square check, the loaded re-measurement trick, and the rear-toe straight-edge method run end-to-end on a real car before you crawl under your own. The video covers exactly what's in this guide, in the same order.
Then come back here for the schematics, the spec charts, and the troubleshooting notes.
When the last two points need a rack and the right set of eyes.
The DIY process gets you to a real, repeatable 8 out of 10. The remaining two points live in three places.
Four-Wheel Rack
+ Camber / CasterA digital rack with someone who knows Beetles can tighten the numbers past what a tape measure resolves. Catch is finding the shop that knows the car.
Corner-Weight Scales
+ Side-to-SideScales beat tape-to-ground for finding side-to-side imbalance. A friend with a track-day setup can corner-weight your Beetle in an afternoon.
Sagged Torsion Leaves
Replace, Then Re-AlignSometimes the measurements are pointing at a sagged spring on one side. No alignment, on a rack or in a driveway, will compensate for it.
If you've done Steps 1–7 honestly and the car still doesn't drive the way you want, it isn't because you did the DIY work wrong. The remaining 20% of the car's behavior lives in spring rates, corner weights, and component conditions a tape measure can't resolve. That's when the rack and the right shop earn their money.
Stuck somewhere in the middle of this?
If you've worked through the steps and the numbers still won't come together — slot limits maxed, wheelbase off, rear that won't square up — that's exactly the work we do every day. We can build the right hardware for your ride height, sort the chassis squareness, and hand the car back tracking the way it should.