
 US Dollars
Beam & Spindle Series · Part 2 · Engineering Install & Setup
How To: Install a PRObuilt Beam
Remove, install, torque and set up your PRObuilt assembled beam in a classic VW. Process — not parts — determines ride quality.
Beam & Spindle Series · Classic VW Front End
Part 2 · You are here
Install the beam
PRObuilt beam install & torque
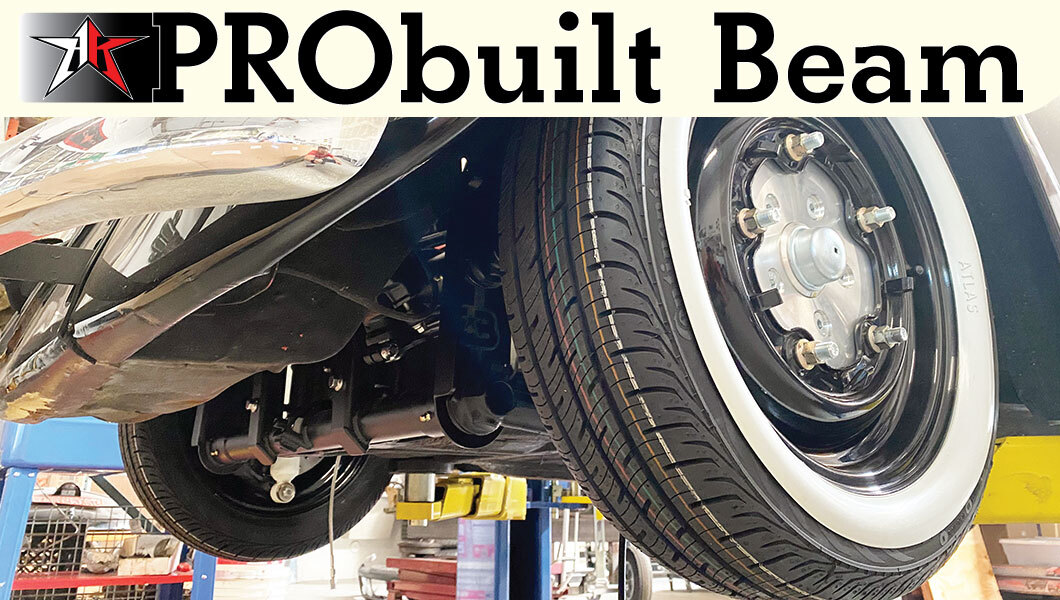
01 · Before you start
Read the whole guide before you unpack
Do
Measure ground to fender arch, all four corners
Write it down. You'll compare at the end.
Do
Use a real torque wrench
Not an impact gun, not by feel.
Don't
Don't open the brake lines
Remove the brakes with the lines attached so you don't have to bleed them.
Don't
Don't use a pickle fork on the tie rods
Tools: tape measure, floor jack and jack stands (a two-post lift is even better), fuel line pinch-off pliers, an air hammer, penetrating oil, a thread chaser for 12 mm × 1.50, a torque wrench, anti-seize, grease, and moving pads or blankets to protect the beam.
02 · Removal
Take out the old beam
1
Measure ground to upper fender arch at each corner and write it down
2
Loosen the lug nuts ¼ turn
3
Jack up the front and set stands under the chassis
Or use a two-post lift. Pull the wheels and slide them under the chassis as a fail-safe.
4
Remove the gas tank
Lift the hood and remove the 4 tank bolts. Remove the vent line if equipped, lift the tank, pinch the fuel line and pull the tank.
5
Disconnect the steering column shaft from the steering box, including the horn wire
6
Remove the two body-to-beam bolts
Early cars have them outside the tank area; late cars inside it.
7
Pull the speedometer cable from the left spindle
Remove the circlip from the dust cap and pull the cable out the back of the spindle.
8
Remove the brakes, lines attached
Skip this if you bought BAD Series brakes with your beam. Remove dust caps, spindle nuts and drums, then the backing plates.
9
Remove the long tie rod assembly
Loosen the nuts and use an air hammer to push the tie rod end through the spindle without damaging threads or paint.
10
Soak the beam bolts
Penetrating oil on every beam bolt. Let it work.
11
Lower the old beam
Break the bolts loose, put a jack under the beam, remove the bolts, and lower it with a helper balancing it.
03 · Install
Put the PRObuilt beam in
1
Chase the frame head threads (12 mm × 1.50) with old or new hardware
2
Anti-seize the beam bolts
If you bought the PRObuilt install kit, its stainless beam bolts get anti-seize.
3
Unbox and unwrap the beam
Before unbolting it from the pallet, remove the long tie rod assembly and steering damper. They're loose and marked with a grey label.
4
Protect the finish
Lay blankets, moving pads or cardboard under the car, pad the jack, and bag the shock towers so nothing scuffs.
5
Fit the lower body mount rubbers
Install kit only. A little grease, then onto the body bungs on the beam.
6
Jack the beam into place
With a helper balancing it. Be patient.
7
Install the beam bolts to 32 ft-lb
Don't over-tighten.
8
Fit the upper body mount rubbers
Install kit only. Lube them and seat them in the factory locations.
9
Install the body-to-beam bolts to 11 ft-lb
10
Install the new tie rod assembly and torque the ends to 33 ft-lb
11
Center the steering
The box ships centered. Fit the coupler, count steering wheel turns lock to lock, go back half, and center the wheel on the shaft.
12
Reinstall stock brakes
Backing plates, drums and dust caps to factory specs.
13
Refit the speedometer cable
Grease the outer cable, push it through the spindle, refit the circlip.
14
Reinstall the fuel line, gas tank and vent line to factory specs
15
Wheels on, set it down, re-measure
Compare to your starting numbers, left to right.
04 · Torque engineering
Torque specs
| Fastener | Torque |
|---|---|
| Beam to frame head bolts | 32 ft-lb |
| Body to beam bolts | 11 ft-lb |
| Steering box to beam | 18 ft-lb |
| Pitman arm | 51 ft-lb |
| Steering coupler bolts | 22 ft-lb |
| Tie rod ends | 33 ft-lb |
Use a torque wrench. Steering box, pitman arm and coupler values are only valid with factory Kamax-style or Airkewld hardware. Under-torqued steering hardware feels exactly like steering play. See Steering Play: Find the Worn Part.
05 · Setup
Stage 1 and Stage 2
Changed the height at all? Get a digital FOUR-wheel alignment, not a two-wheel, so the tires last and the car drives right.
06 · Troubleshooting
Common post-install questions
07 · Maintenance
Keep it tight
Every oil change
Grease every zerk
From time to time
Check your bolts
Better to check than assume.
Every 5,000 miles
Check alignment
Often
Check your lugs
Full details in Normal Maintenance for Your Airkewld Beam.
08 · Cores
$150 for your old beam core
We don't need the whole beam: the arms, spindles, hardware, and the steering box with pitman arm and clamp. Pack them in a lidded bucket or a sturdy box and call or text us to get your $150 core credit.
Process — Not Parts — Determines Performance