 US Dollars
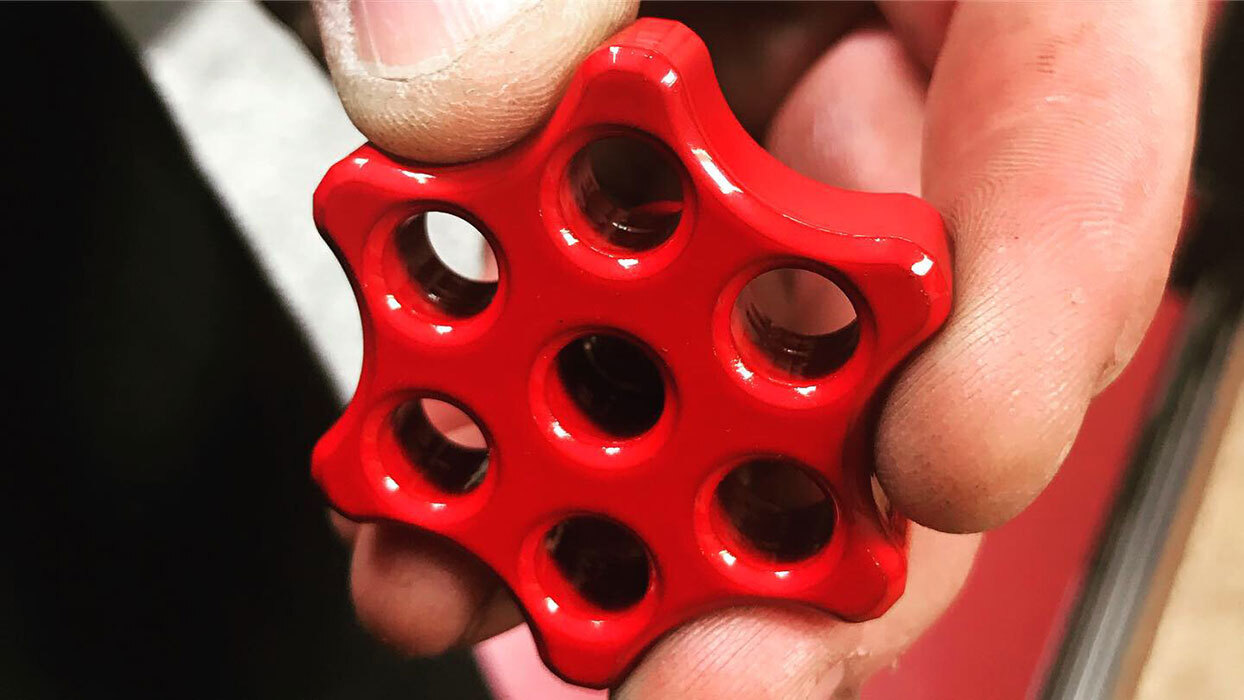
Six Shooter Clutch Adjuster Install
Replace the floppy factory wing nut with an ergonomic, finger-grip adjuster you dial in by hand. No wrench. No fumbling. Just clean, fine-tuned pedal feel — on the side of the road or in your driveway.

From a 5-out-of-10 Wing Nut to a Tool You Actually Want to Use
The factory German wing nut, when it's working at its best, is a five-out-of-ten experience. It got the job done — but most of the time it's already long gone, replaced with a soft Chinese knock-off that strips, slips, and feels like a week of not shaving your face.
And if you've ever tried to dial in pedal feel on a cold morning — only to have the wing nut slip and slap your finger like a propeller — you know the feeling. We've all been there.
Designed for fingertips, not wrenches. Pinch, turn, dial it in. The way clutch adjustment should have always felt.
Available in Raw Steel, Black Zinc, Stainless Steel, and Titanium. Hundreds of 5-star reviews. Zero floppy wing nuts.
The Numbers You Need Before You Crawl Under
Thread
7mm × 1.0Cable + adjuster (NOT 6mm)
Fits
VW + 35612V-style lever required
Lube
Anti-SeizeThreads + back of nut
Free Play
1/2″–3/4″At top of pedal
Confirm Your Setup in 30 Seconds
✓ Fits
- VW Type 1 (Beetle, Ghia, Thing, Super), Type 2 (Bus), Type 3 (Notchback, Squareback, Fastback) — 1949–1979
- Porsche 356 with the 7mm clutch cable
- Any classic VW running a 12V-style transaxle clutch lever (straight lever)
✗ Does NOT Fit
- Cars with 6mm clutch cables (wrong thread)
- Curved 6V transaxle clutch levers (stock 1949–1966 VWs that haven't been swapped to 12V) — the curved geometry won't clear; even the OEM wing nut struggles. Requires the stock two-nut setup (rounded nut + jam nut).
Not sure which lever you have? See the FAQ below for a side-by-side photo comparison.
Pick the Six Shooter That Matches Your Build
Same precision. Three finishes. Each ships ready to install with the right care notes.
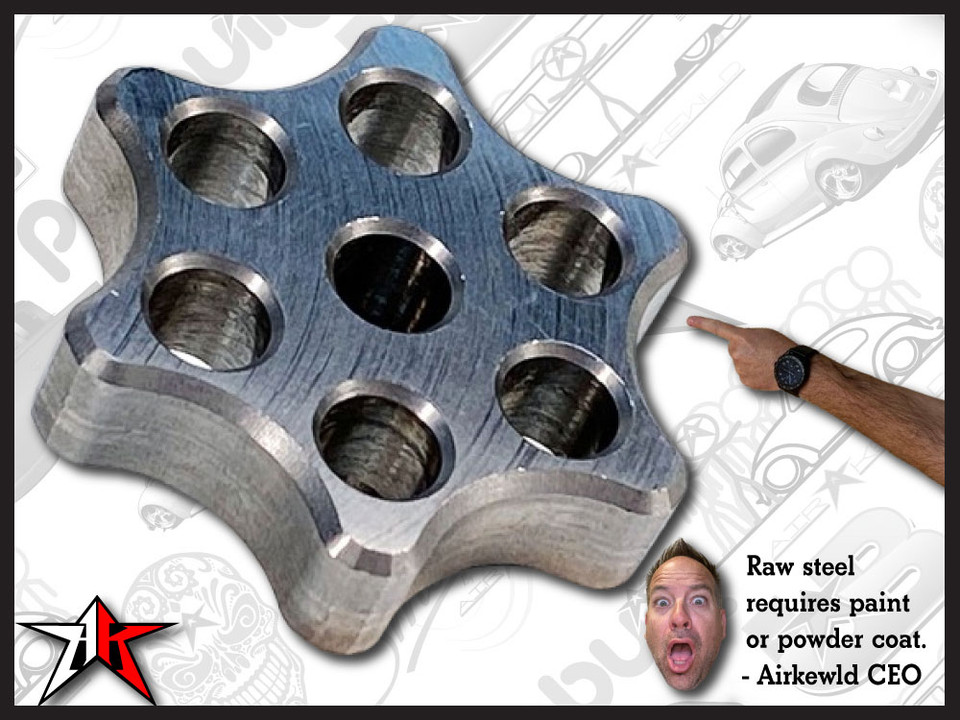
Raw Steel
Bare steel. Coat with paint, oil, or anti-seize before install — otherwise it'll surface-rust within a season. The blank canvas option for builders who want to match their own finish.
Shop Raw →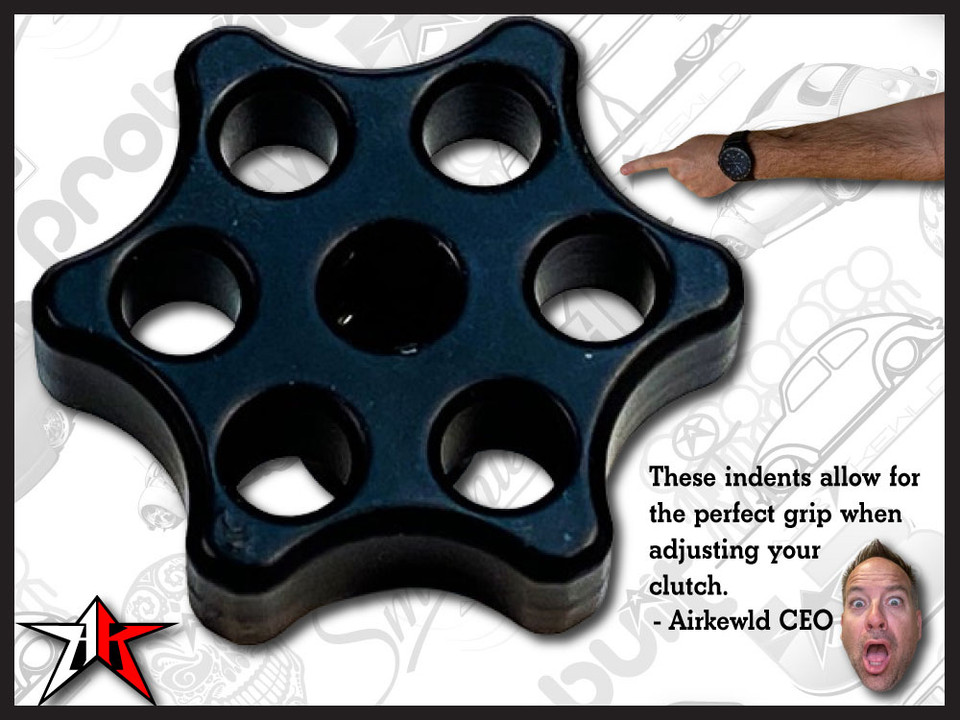
Black Zinc
Ready to install. Zero prep. Wipe with light oil after rain to preserve the finish. The set-it-and-forget-it daily-driver pick.
Shop Black Zinc →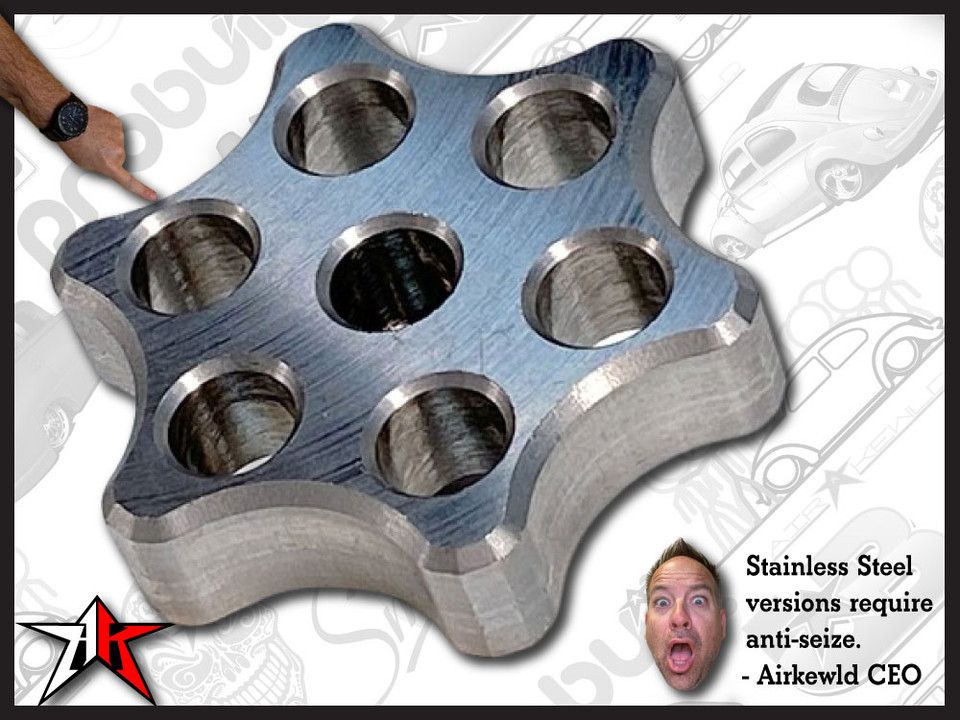
Stainless Steel
Rust-proof for life. Anti-seize on every adjustment is non-negotiable — stainless-on-steel galls hard. The forever option.
Shop Stainless →Six Minutes · The Whole Install
Watch the install end-to-end before you crawl under the car. The video covers exactly what's in this guide — thread cleanup, lube discipline, and dialing in pedal feel by hand.
Then come back here for the photos, the tools list, and the troubleshooting Q&A.
The Top 5 Install Mistakes — And How to Avoid Them
This is the stuff that kills the upgrade. Fix it before you start, and the install is a 30-minute job that lasts.
Installing on Dirty Threads
After 50K miles the cable threads are crusty. Wire-brush or 7mm × 1.0 thread-chase BEFORE installing — dirt in the threads makes the adjuster bind, gives false pedal feel, and accelerates wear.
Skipping Lube on the Cable Threads
Grease or anti-seize is mandatory. Skip this and steel-on-steel galls fast — instead of "minor adjustments with ease" you'll be replacing the cable.
Forgetting the Back of the Nut
Lube goes on the cable threads AND the back face of the Six Shooter where it bears against the clutch lever. The bearing face is where you'll feel binding when you try to fine-tune.
Leaving Excess Grease on the Cable
After dialing in pedal feel, wipe ALL excess off the exposed cable. Wet grease is a magnet for road dirt — that grit ends up back in the threads and grinds the new adjuster.
Wrong Variant Left Uncoated
RAW Six Shooters are bare steel and MUST be coated (paint, oil, or anti-seize) or they'll surface-rust within a season. BLACK ships ready to install. STAINLESS requires anti-seize — stainless-on-steel galls hard.
Tools Required · Shop the Build
Everything in this list is what we keep on our own benches. Affiliate links support the channel — same price to you.

Jack & Jack Stand
Rated for vehicle weight. Never trust a hydraulic alone — always set the stand.
Shop on Amazon
Wire Brush + Cleaner
Brass or steel-bristle. Pair with a citrus degreaser to dissolve old chassis grease.
Shop on Amazon
7mm × 1.0 Thread Chaser
Optional but highly recommended. Restores deep-pitted threads in seconds.
Shop on Amazon
Anti-Seize / Grease
Copper or nickel anti-seize. Mandatory on stainless. The forever-tool of clutch cables.
Shop on Amazon


Clean Shop Rags
Microfiber or cotton. The final wipe-down is what keeps grit out of fresh threads.
Shop on AmazonAirkewld is a participant in the Amazon Services LLC Associates Program. As an Amazon Associate, we earn from qualifying purchases — at no additional cost to you.
Step by Step · The Way We'd Install It
Read each phase. Match each photo. Don't skip the Pro Tips — that's where 12 years of warranty calls went to die.
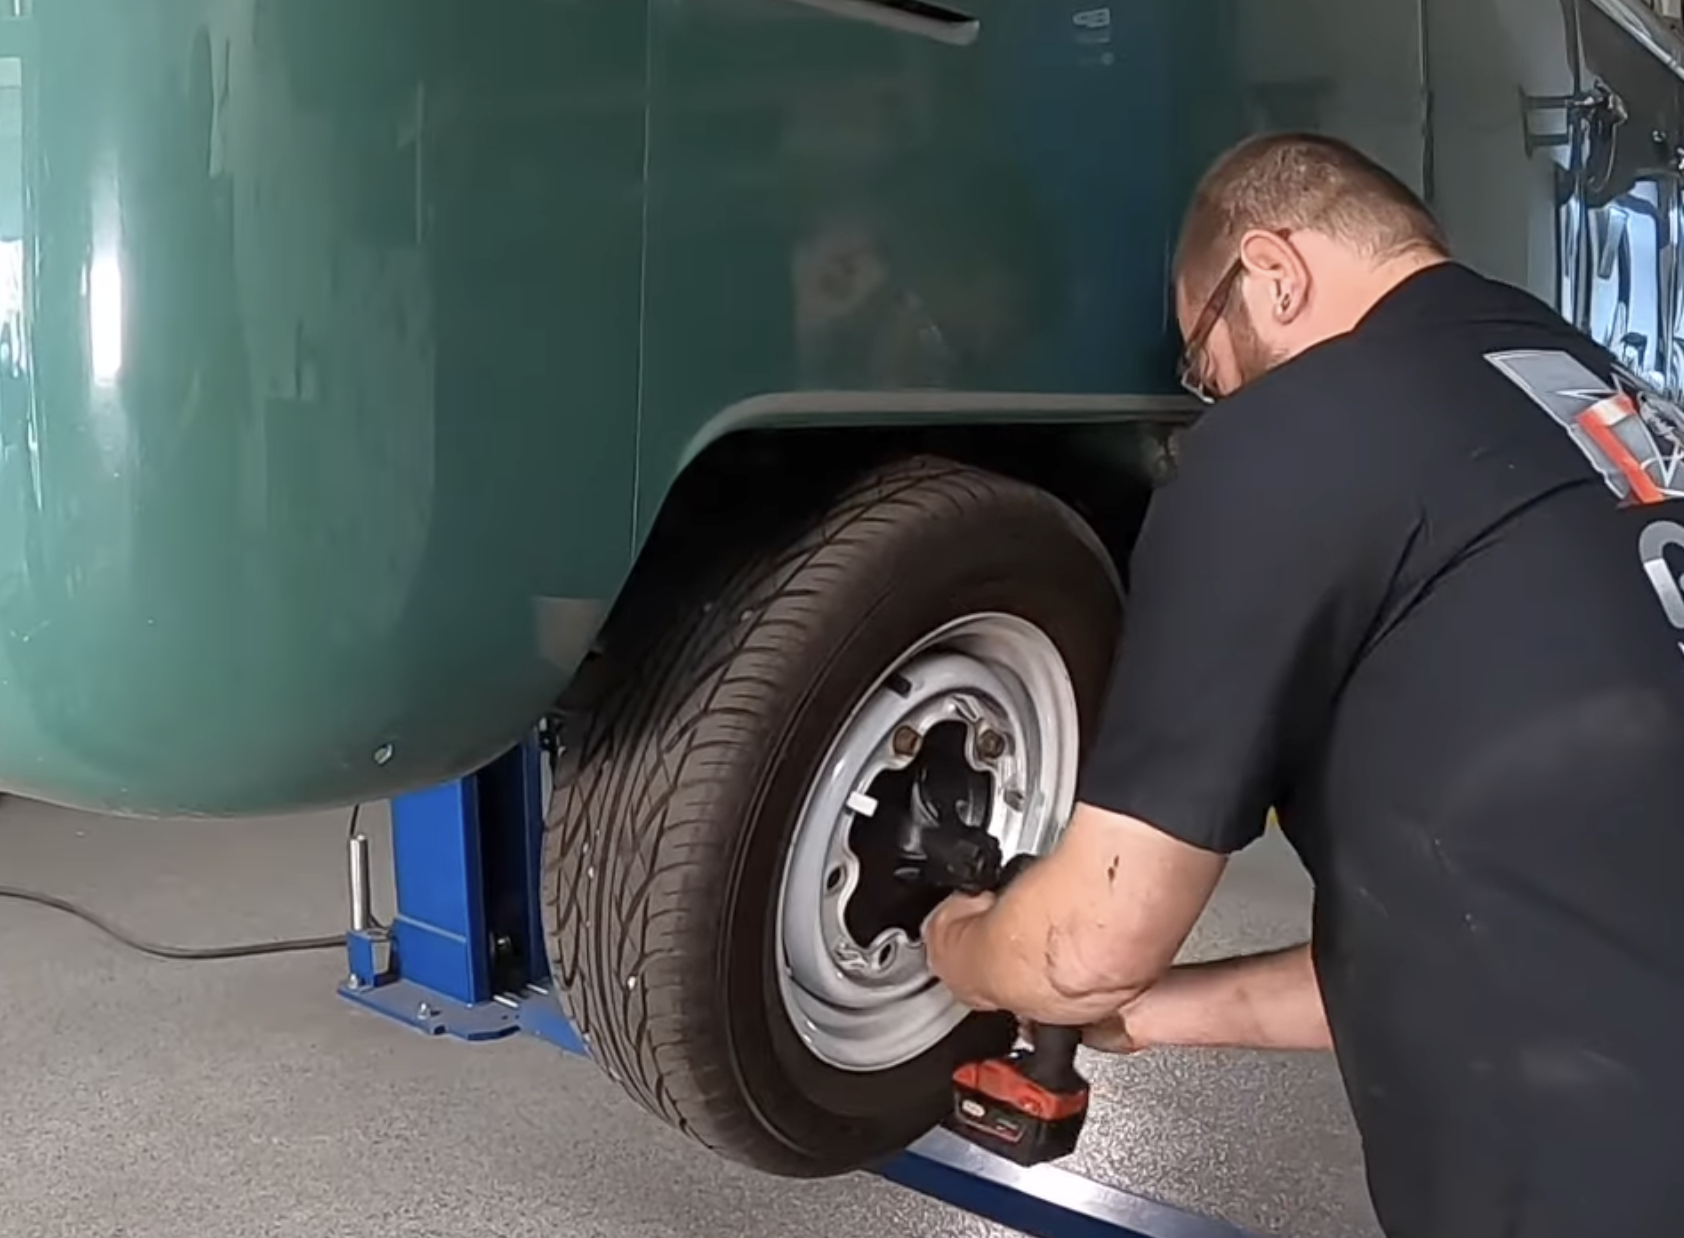
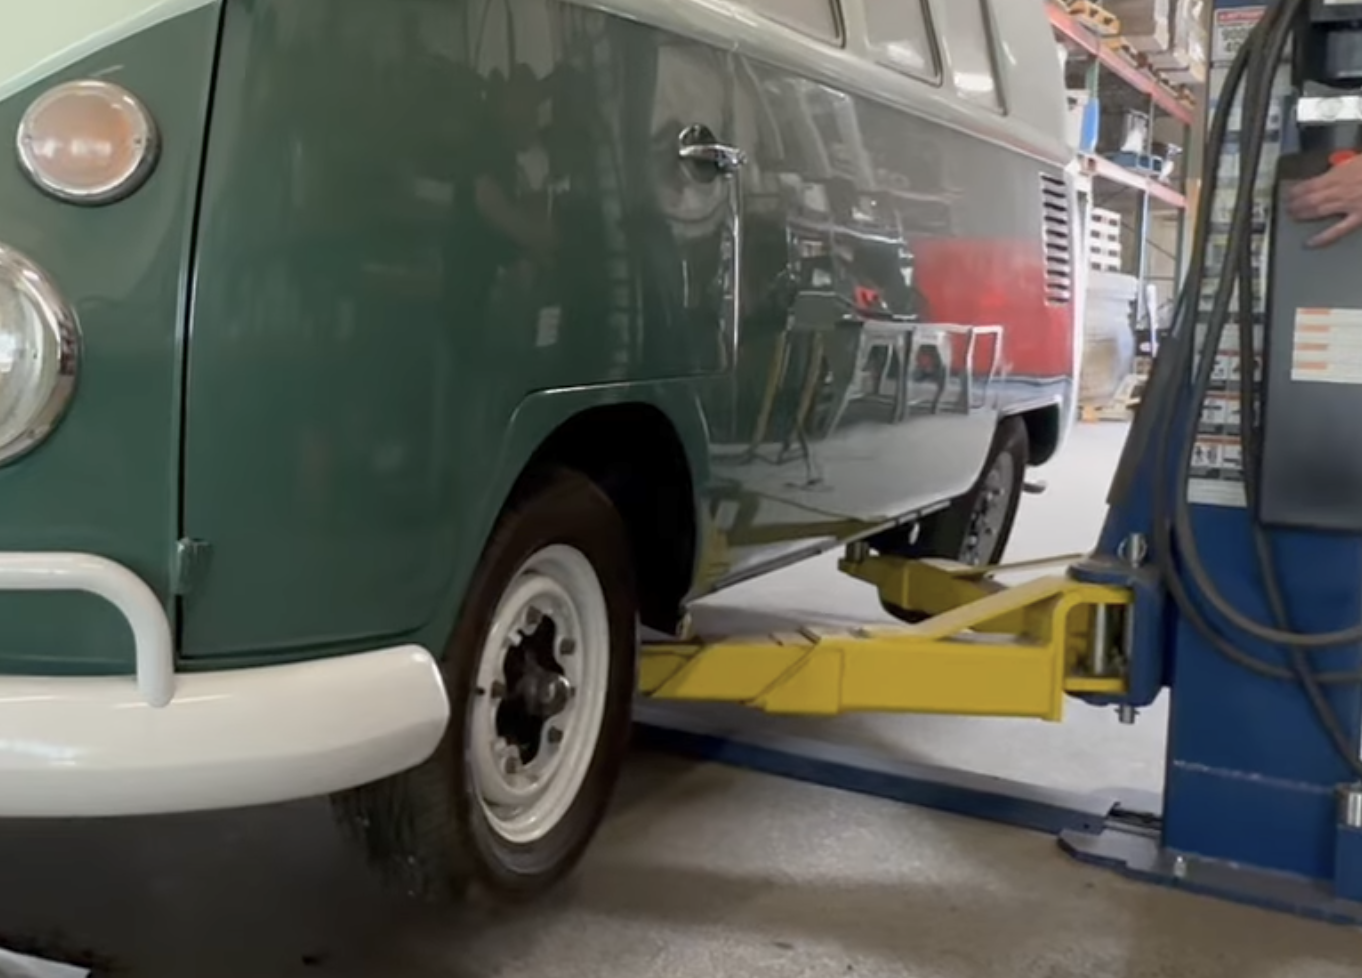
Rear Access
- Loosen the LEFT REAR lug nuts a quarter turn before jacking.
- Raise the rear of the vehicle and place a jack stand under the chassis.
- Remove the left rear wheel; place it under the chassis as a failsafe.
- Locate the clutch lever on the transaxle — cable plus factory wing nut. Confirm your lever is straight (12V-style) — if it's curved, stop and read the Fitment Check.
- Spray WD-40 on the threads to free up the old wing nut.
Remove the Old Wing Nut
- Back the factory wing nut off the cable until it spins free.
- Slide it off and set aside — not reused.
- Inspect the cable threads — note crud, kinks, or damage now before lubing.
Clean the Threads
- Wire-brush + cleaning solution to clear road grime and old grease.
- OR run a 7mm × 1.0 thread chaser end-to-end — fastest if threads are deep-pitted.
- Wipe clean. Threads must be visibly clean before lubing.
Aim for 1/2″ to 3/4″ of free play at the top of the pedal before you feel the cable take up. Too tight = clutch slips and burns out. Too loose = grinds going into first. Adjust by FEEL, not by ruler — every chassis settles a little differently.
Prep the Adjuster
- Variant check before lube:
- Raw steel — coat the body with paint, oil, or anti-seize FIRST (it'll surface-rust otherwise).
- Black Zinc — ships ready, no extra coating needed.
- Stainless — anti-seize is non-negotiable (stainless-on-steel galls).
- Apply grease or anti-seize generously to BOTH the cable threads AND the back face of the Six Shooter (the bearing surface against the clutch lever).
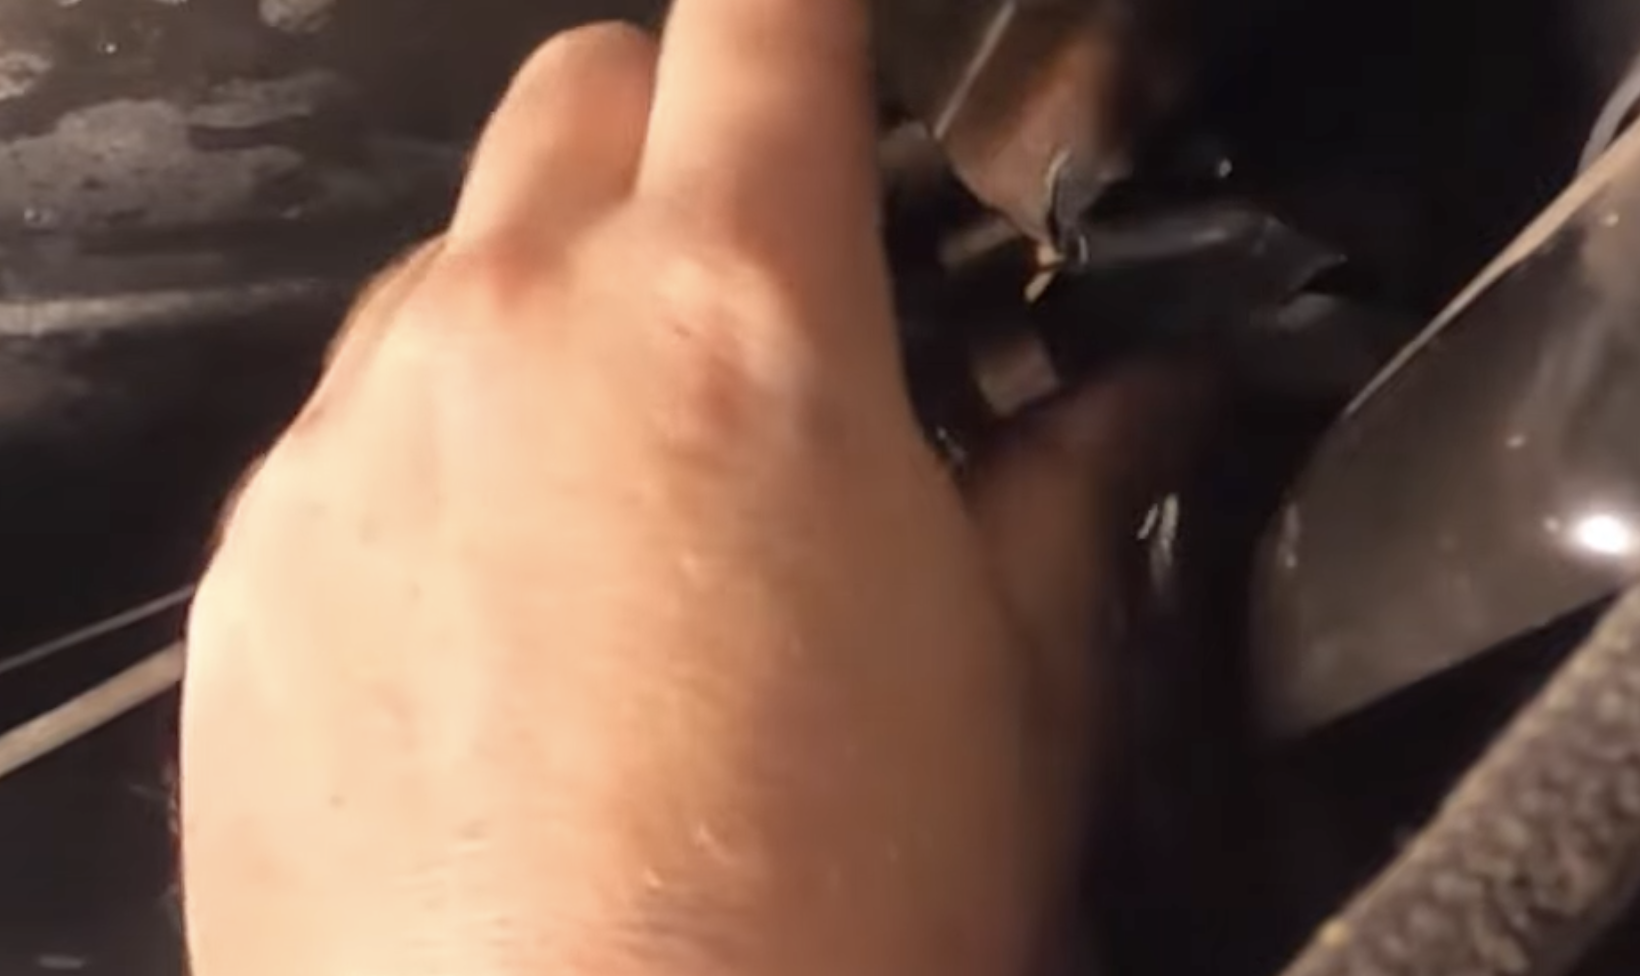
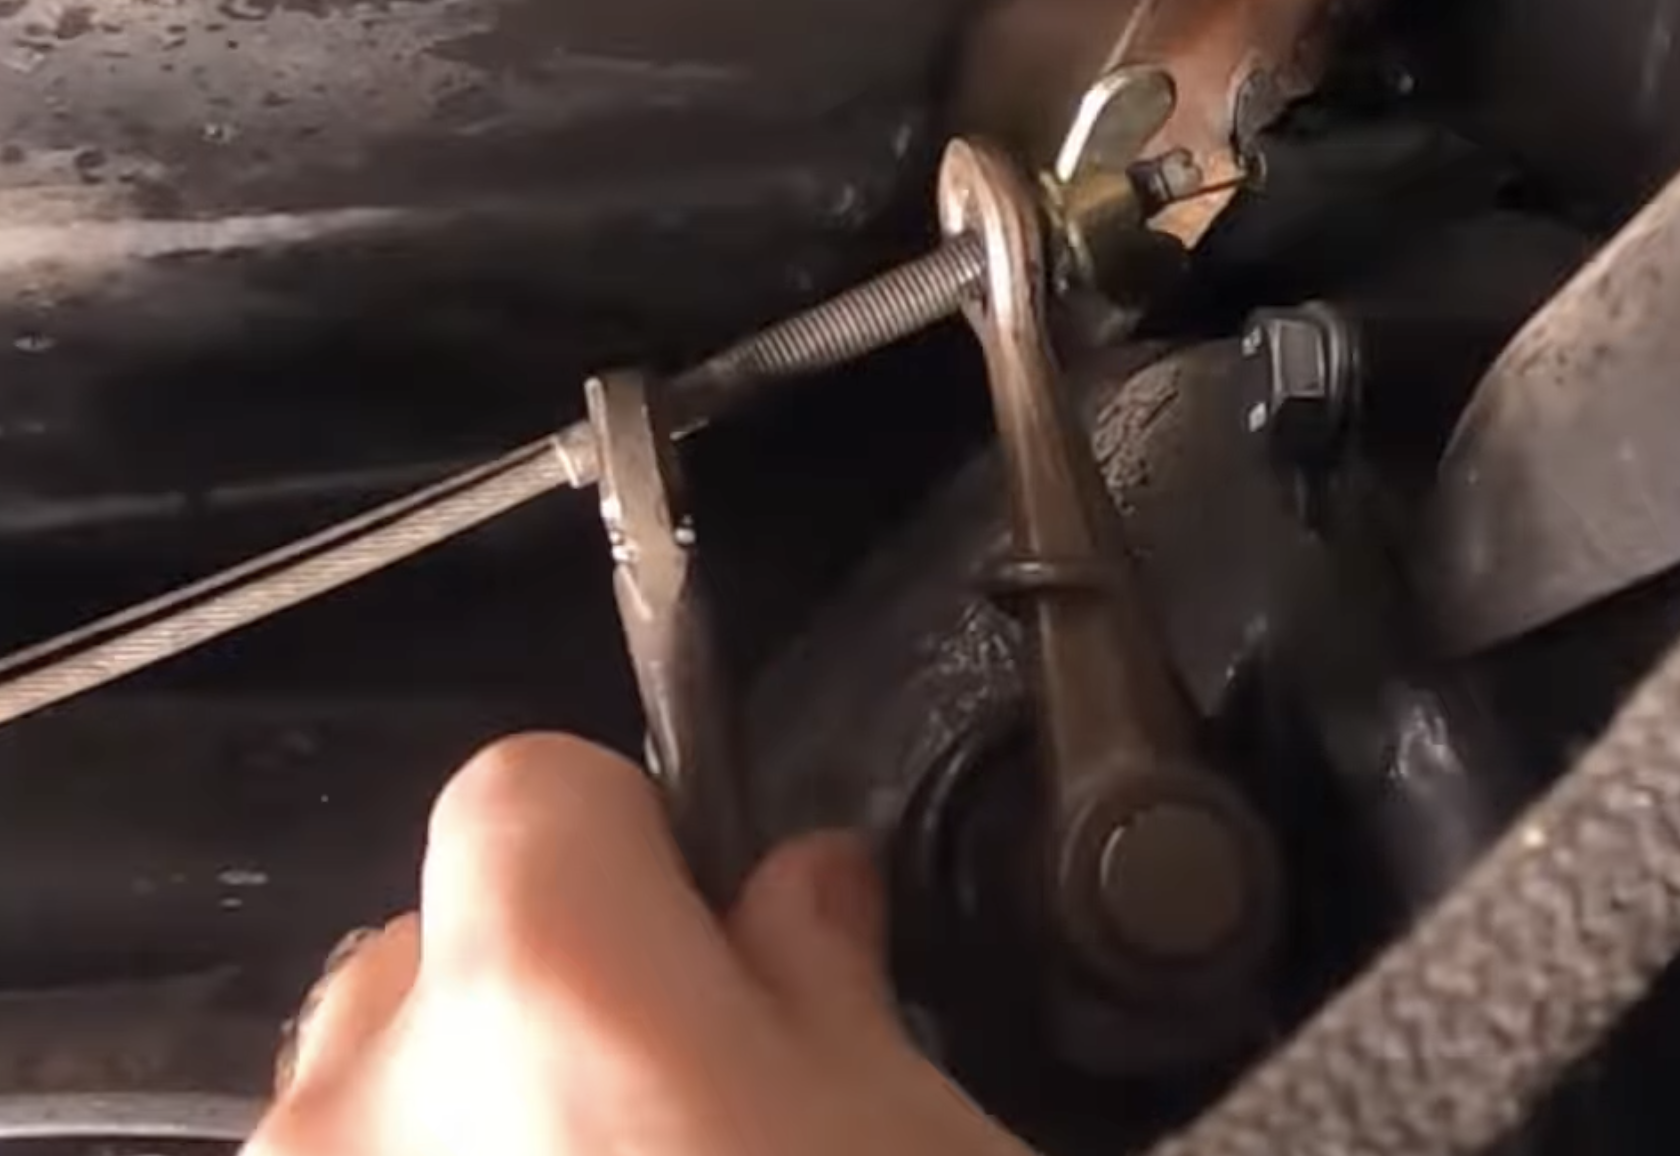
Install & Dial Free Play
- Thread the Six Shooter onto the cable by hand — fingertips are all you need.
- While tightening, check pedal free play and engagement — go slow, small turns at a time.
- Target 1/2″–3/4″ free play at the pedal top.
- Once feel is dialed, WIPE ALL residual grease off the exposed cable. Wet cable = dust magnet.
RAW: paint it (rattle-can black or POR-15) BEFORE installing — way easier than touching up under the car. STAINLESS: anti-seize on every adjustment, every time. BLACK: wipe with light oil after rain to preserve the finish. Whatever the variant — keep that cable WIPED CLEAN. Grease + grit is what grinds adjusters.
Wheel & Torque
- Reinstall the left rear wheel and hand-tighten the lugs.
- Jack the vehicle up enough to remove the stand, then lower it to the ground.
- Torque the lugs to factory spec (or wheel-manufacturer spec if running aftermarket).
- Final pedal check: smooth movement, clean engagement, free play in spec.
- Tag the install on social media — #AirkewldArmy.
"So easy to install and adjust. What an amazing product. Look forward to other future innovations from Airkewld."
— Posted by Scott A. Slater"Looks great, simple install and makes adjusting the clutch so easy. No longer do I need to be a contortionist trying to spin that horrible stock butterfly nut."
— Posted by Alan"Great looking product and a hell of a lot easier to use then the wing nut. Just need another one for my 66 bug now."
— Posted by Jeff HolmThe Questions We Get Most
Will the Six Shooter fit my car?
Three things have to be true: (1) your car is a 1949–1979 VW Type 1 (Beetle, Ghia, Thing, Super), Type 2 (Bus), Type 3 (Squareback, Notchback, Fastback), OR a Porsche 356 with the 7mm clutch cable. (2) Your clutch cable is 7mm × 1.0 thread — not 6mm. (3) Your transaxle clutch lever is the straight 12V-style — not the curved 6V design. If all three check out, you're in. If you're not sure on the lever, see the next question.
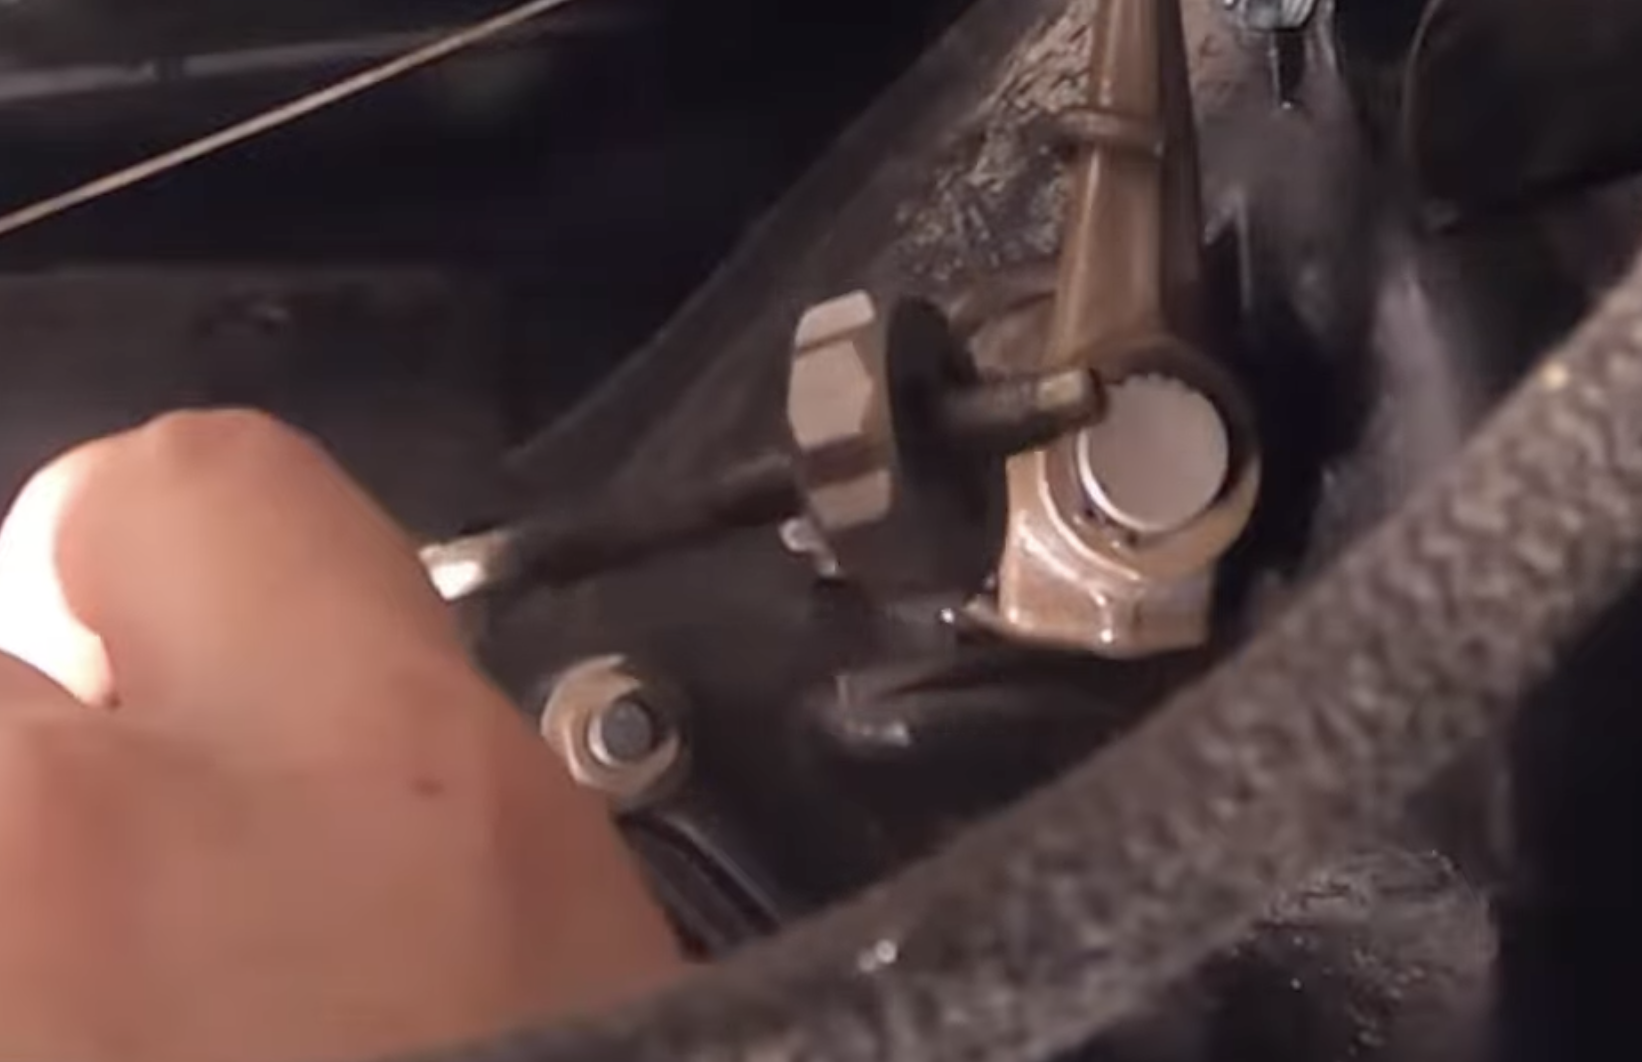
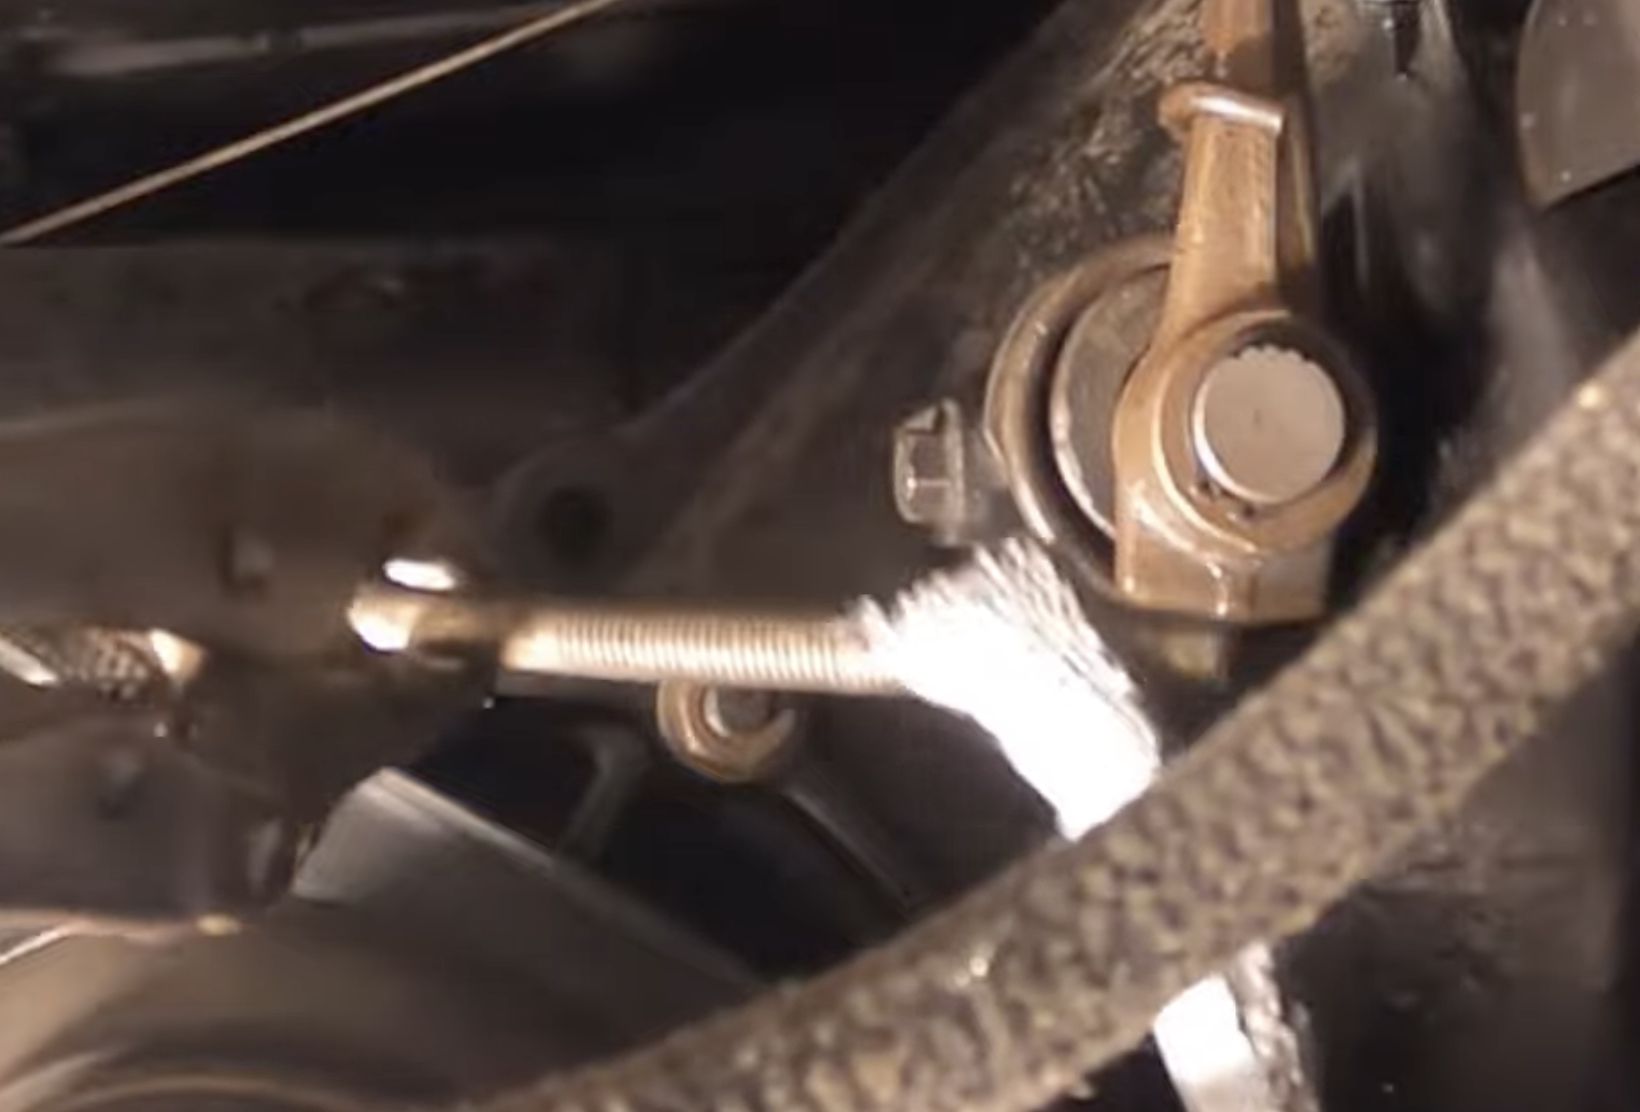
How do I tell if I have a 6V or 12V clutch lever?
Get under the car and look at the clutch lever on top of the transaxle. The shape tells you everything:
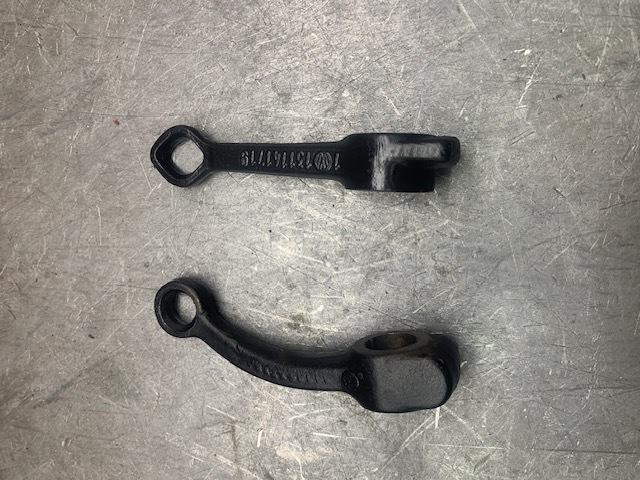
- Curved lever (6V) — arcs noticeably from the pivot to the cable end. Stock on 1949–1966 VWs. Six Shooter will NOT fit. The space around the curve is too tight; even the OEM wing nut is a fight. Requires the original two-nut setup (rounded nut + jam nut).
- Straight lever (12V) — runs in a straight line from pivot to cable end. Stock on 1967+ VWs and a common upgrade on older cars. Six Shooter drops right in.
Got the curved one and want the upgrade? Swap to a 12V lever → One bolt, opens the door to every modern clutch upgrade including the Six Shooter.
Does it really fit a Porsche 356?
Yes — if your 356 has the 7mm clutch cable (the most common spec). Same thread as the VW, so the Six Shooter threads on the same way. Confirm 7mm before ordering — if you have a 6mm cable, this part will not fit.
Which finish should I pick — Raw, Black Zinc, Stainless, or Titanium?
Black Zinc is the daily-driver pick — ready to install, low-maintenance. Stainless is the forever option for show cars or wet-climate drivers — just commit to anti-seize. Raw is for builders matching a custom finish (you'll coat it yourself). Titanium is for the weight-savers and the obsessives.
Do I need a tool to adjust it?
No — that's the whole point. The Six Shooter is designed for fingertip grip. You pinch and turn it by hand, on the side of the road, in the dark, in the rain. The factory wing nut needed two fingers and good luck. The Six Shooter's ergonomic shape gives you fine control with one hand.
Can I install it with the engine in the car?
Yes — the install is done from underneath at the transaxle clutch lever. Engine in or out, it's the same job. Most owners do it during a routine clutch adjustment.
My pedal still feels soft after install — what did I miss?
Three things to check, in order: (1) the cable itself isn't stretched or kinked — if it is, replace it; (2) the clutch lever pivot bushings aren't worn — sloppy lever = sloppy pedal; (3) you're targeting 1/2″–3/4″ free play at the pedal top, measured by feel, not by ruler. Still soft? Text us at 1-623-518-3537.
How often do I need to re-adjust?
Once dialed, most owners only re-touch every 3,000–5,000 miles or after a clutch disc swap. Because the Six Shooter holds its position cleanly — no slipping flats — small fingertip adjustments stay where you put them.
Do I really need anti-seize? Can I just use white lithium?
For Raw or Black Zinc, regular grease works in a pinch. For Stainless, anti-seize is non-negotiable — without it, stainless-on-steel will gall and seize. Copper or nickel anti-seize, applied to threads AND the back of the nut.
What's your warranty?
If your Six Shooter ever fails from a manufacturing defect, we replace it. Period. Email help@airkewld.com with a photo and your order number.
Real Humans. Real Phones. Real VW People.
If something on your install doesn't match the photos, or your pedal feel is off — reach out. We pick up the phone. We answer the email. That's the Airkewld way.